I’m Dylan. I’m between jobs and on a tight budget, so I buy the cheap pencils, pads and erasers myself, use them for a few weeks, and write down what held up. If something is not worth your money, I’ll say so. I created Art Basics Guide for adults who want to start drawing with a small, smart set of tools instead of a huge, confusing pile of art supplies.
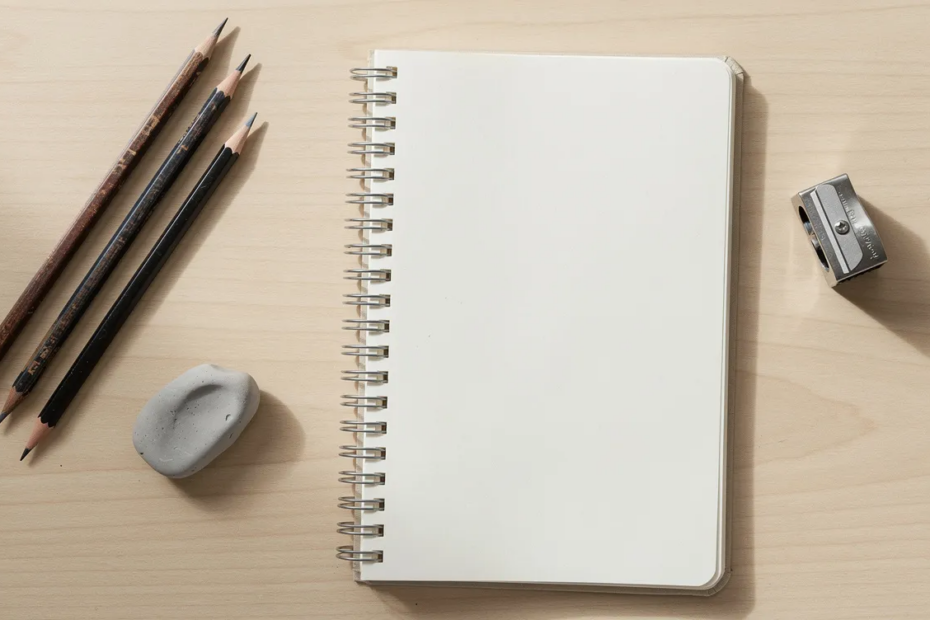
The core drawing tools I recommend are graphite drawing pencils, an eraser, a sharpener, basic drawing paper or a sketchbook, and at least one black pen or fineliner. I drew for a good month with just pencils, paper, an eraser and a sharpener before I felt I was missing anything. Beginners should focus on basic supplies like pencils, erasers, and sketchbooks before branching out. I go through the full shopping list in my my beginner supply guide.
A “drawing tool” is anything that makes a mark, shapes a mark, or supports your drawing. That includes pencils and pens but also erasers, blending stumps, sharpeners and drawing boards. I focus on traditional materials first (graphite, ink, colored pencils) and touch on digital tools later, because most readers are starting with paper, not tablets. When I mention brands like Faber Castell or specific paper weights, those are illustrations, not required purchases. Artists should consider skill level, drawing style, and budget when selecting tools.
Understanding Drawing Tools: Categories and How They Work Together
Drawing instruments fall into three groups.
-
Mark-making tools. Graphite pencils, colored pencils, pens, felt tip pens, charcoal. Essential drawing tools include dry media and ink implements that serve distinct purposes.
-
Support tools. Erasers, blending stumps, pencil sharpeners, rulers.
-
Surfaces. Drawing paper, drafting paper, sketchbooks, drawing boards.
I recommend starting with one or two items from each category instead of trying everything at once. A set of graphite pencils plus a blending stump (or even a tissue; a cotton swab did much of what a blending stump does when I started) plus decent paper already lets you practice shading, textures and finished artwork. As of 2026, most mid-range pencil sets and sketchbooks are widely available online at modest prices. Brand names that appear here are examples so the focus stays on function and quality level.
Graphite Drawing Pencils: Your Primary Drawing Tool
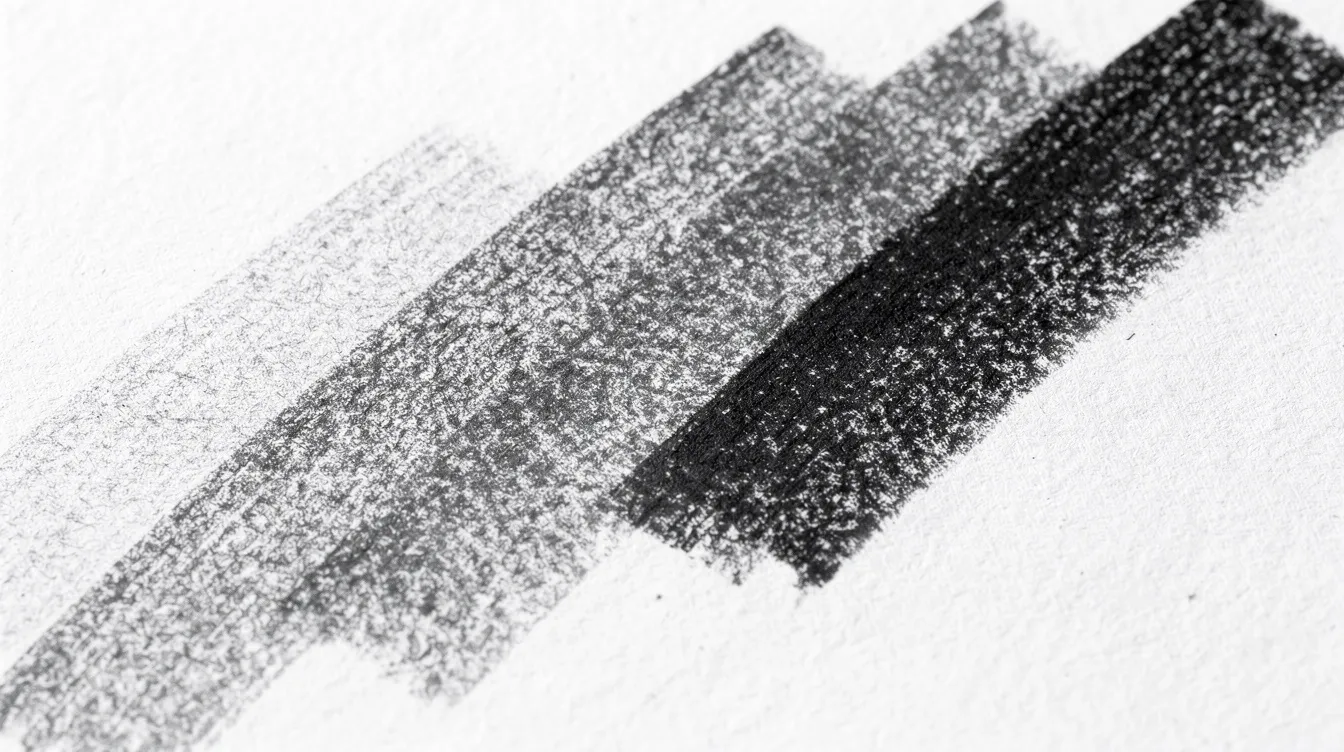
Graphite pencils are the core tool for most beginners because they are more versatile and controllable than ink or charcoal. The “lead” is a mix of graphite and clay. More clay makes the pencil harder and lighter; more graphite makes it softer and darker. Quality drawing pencils range from 9H (very hard, very light marks) to 6B (very soft, very dark marks), with HB sitting in the middle, close to a standard pencil you would use for writing. Harder pencils create lighter marks and stay sharp longer. Softer pencils produce darker marks but require frequent sharpening. I go deeper on grades in my my write-up on choosing drawing pencils.
My own pick for starting out: an HB for light outlines and a 4B or 6B for darker shading. Adding a 2B in between gives you three pencils that cover a wide tonal range. Those 24-pencil tins looked like a bargain to me, but I kept reaching for the same two or three. Start with 3 to 5 individual pencils and upgrade to a full pencil set later if you enjoy graphite drawing.
Mechanical pencils eliminate the need for sharpening and are great for writing, technical drawing and small detail. I use one for precise lines. But they are not ideal for broad shading because the thin lead (often 0.5 mm or 0.7 mm) covers ground slowly, and soft leads snap under pressure. So do not make a mechanical pencil your only pencil.
Well-known brands like Faber Castell (Castell 9000 line) and Derwent give consistent graphite, which makes shading easier. Cheap craft-store pencil sets worked fine for me, and the main thing I noticed with pricier pencils was that the leads broke less when dropped, which matters more if you carry them around.
Erasers and Blending Tools: Correcting, Lifting, and Softening Marks
Erasers and blending tools matter as much as pencils because they let you correct mistakes, pull out highlights and smooth gradients. Blending tools help create smooth transitions between light and dark areas in drawings. Here are the eraser types and when I reach for each one:
-
Kneaded eraser. Lifts graphite by pressing or dabbing instead of rubbing. Kneaded erasers lift material without friction, which is gentle on the paper and leaves almost no residue. You can reshape one into a fine point for small highlights. I use mine more than any other eraser.
-
Vinyl or plastic eraser. Removes darker marks with clean edges. Vinyl erasers can erase almost any medium but may tear paper if you press hard, so go easy.
-
Rubber eraser. Rubber erasers are standard for erasing graphite marks. They work, but they are not as clean as vinyl.
-
Gum eraser. Gum erasers crumble while erasing to protect sensitive surfaces. They wear fast, so brush the crumbs away as you go.
Skip the pink pencil-top erasers. In my experience they smear more than they remove and harden quickly. Erasers can also be used creatively for mark-making; lifting graphite from a shaded area to create highlights is a technique worth practicing early.
For a first kit, buy one soft white plastic eraser and one kneaded eraser. Together they cost very little. Add blending stumps and tortillons once basic shading practice begins. These rolled-paper tools are better than fingers, which deposit skin oils and can stain your drawing surface.
Sharpeners and the Electric Pencil Sharpener Question
A sharpener is a support tool that directly affects line quality and how long your pencils last. Pencil sharpeners come in manual and electric types.
For beginners a small handheld metal or plastic manual pencil sharpener is enough. Avoid the tiny novelty sharpeners that come free in some pencil sets; they often have weak or misaligned blades and snap soft leads. A desk-clamp crank model is gentle on graphite and colored pencils and worth the bit extra if you sharpen many pencils daily.
An electric pencil sharpener suits studios that go through pencils quickly. Auto-stop and shavings reservoirs are standard on 2026 models. But many electric sharpeners struggle with waxy colored pencils because cores can crumble inside the mechanism, so I prefer a manual sharpener for those. I recommend an electric one only if you draw heavily or share tools in a busy space.
A good single-hole sharpener plus a small craft knife gives you options. The knife lets you cut a longer shading point on a woodcase pencil (cut away from yourself and take your time). A quality sharpener gives clean, tear-free cuts and minimal breakage. You can test sharpening on a cheap pencil first to check blade alignment.
Drawing Paper, Drafting Paper, and Sketchbooks
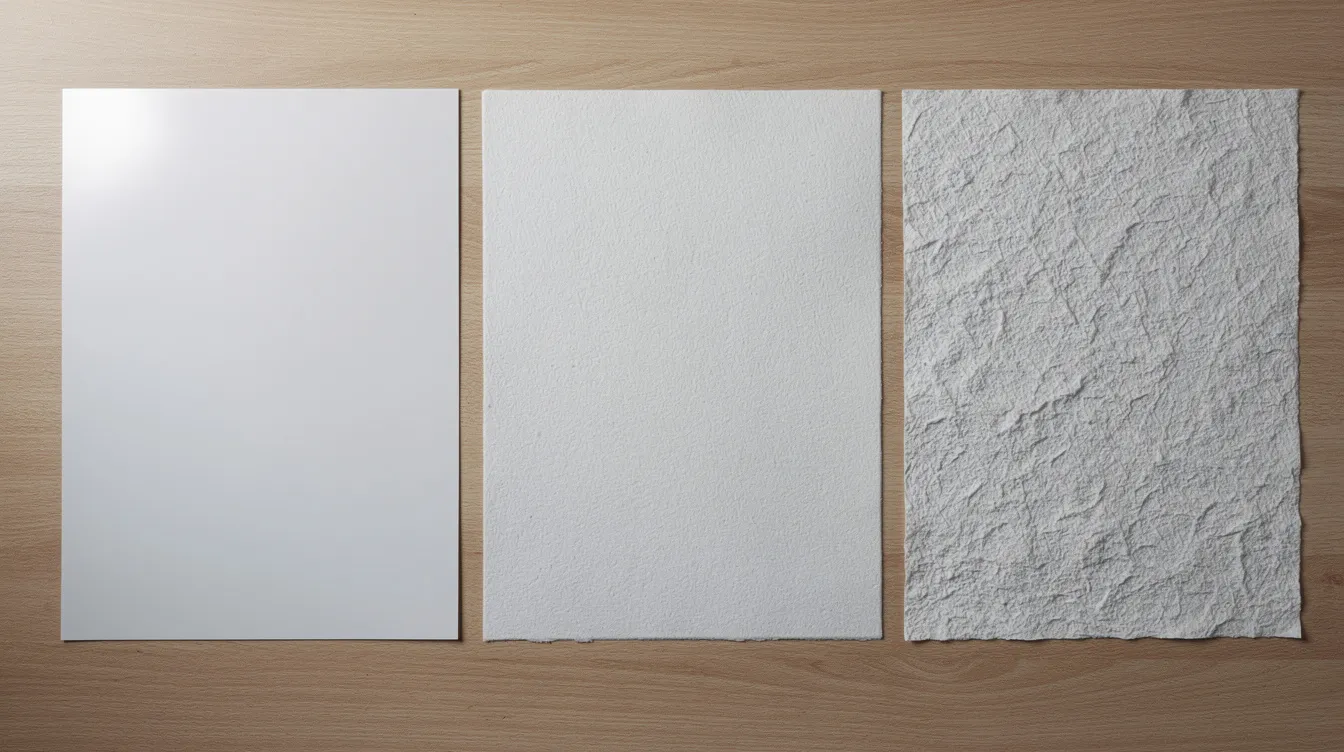
Drawing paper is not “any paper.” It is manufactured in different weights and textures, and those differences change how graphite, ink and colored pencils behave. Quality drawing paper affects the final artwork’s appearance more than most beginners expect.
Weight. Paper weight tells you thickness. 80 lb. paper is typically thicker than 60 lb. paper. In metric terms, sketch paper runs about 70 to 90 gsm (light, cheap, fine for warm-ups), drawing paper sits around 100 to 160 gsm (handles erasing and layering better), and Bristol paper at 220 to 270 gsm is heavy and durable. Bristol paper is excellent for detailed line work.
Tooth. Paper texture, called “tooth,” dictates how much pigment grips the surface. Smooth paper is best for detailed line work and fine details. Textured paper is ideal for shading and expressive drawings. The tooth of the surface affects line quality directly. A light “medium tooth” paper was the easiest for me when starting out; very smooth paper did not hold soft pencil well, and very rough paper chewed up fine pencil lines.
Acid free paper. Acid-free paper resists yellowing over time. If you want a piece to last, look for “acid-free” or “archival” on the label.
Here is the paper ladder I use:
-
Printer paper for throwaway sketches and warm-ups.
-
A medium-weight spiral sketchbook as the step up. It held up to erasing far better than copy paper, and a sketchbook is essential for daily artistic practice.
-
Heavier pads or Bristol board for pieces I want to keep.
Some names worth knowing: Strathmore papers are recommended for drawing (their 400 Series Drawing Pads contain cream colored drawing paper that takes pencil well). Canson Mi-Teintes paper has a heavy texture on one side and a smoother side, making it popular for multi-media use, charcoal and pastels. Toned paper in light gray or tan helps you practice lights and darks directly.
Drafting paper (translucent tracing paper, polyester film such as Mylar) is used for technical drawing, transfers and perspective studies. It is specialized and not something you need on day one.
The Metropolitan Museum of Art has an overview of how artists have used different drawing media on paper throughout history, which is worth a look if you are curious about the materials behind the images in their collection.
Drawing Boards and Other Support Tools
Drawing boards provide a sturdy, portable surface that keeps paper flat whether you work at a table, on a sofa or outside. Example sizes run from about 18 x 18 inches (compact) to 23 x 26 inches (more generous workspace). A clipboard works as a budget version; I used one for months.
Attach paper with clips or masking tape to prevent buckling and smudging. Other simple accessories that help:
-
A ruler for straight lines and checking proportions.
-
A compass for drawing a circle or arc.
-
Stencils for repeated shapes or lettering.
For most beginners, one medium-sized board plus a 30 cm ruler covers early needs. Larger tools can wait for architectural or technical drawing projects.
Colored Pencils and Pencil Sets for Color Work
Colored pencils are a natural extension of graphite drawing. They let beginners explore color and creativity with a familiar pencil form. Wax-based colored pencils are softer and blend easily; oil-based ones hold sharper points and build color in more layers. Quality colored pencils offer better color saturation than cheap student-grade sets, though student grade is fine for a first try.
Heavier, slightly toothy drawing paper beats smooth office paper for color work. A basic 12 or 24 color set is enough to start. Faber Castell Polychromos is one example of a reliable line. Prismacolor pencils are known for their soft, buttery application, which makes them popular for blending. Cheaper versions of both exist and will still teach you layering.
My honest note: my own testing has centered on graphite, so I treat color as an add-on once the basics are solid. Start with a modestly priced set, practice layering with light pressure, and upgrade only if color becomes your main focus.
Pens, Fineliners, and Felt Tip Pens
Permanent line work is different from erasable sketching. Fineliners lock in decisions and force more confident drawing, and they are good for inking over a pencil sketch. Technical drawing pens and fineliners come in specific tip sizes:
-
0.05 to 0.1 mm for fine detail and cross-hatching.
-
0.3 mm for contours and mid-weight lines.
-
0.5 mm for bold outlines.
Felt tip pens and felt pens are broader tools suited for filling shapes and areas of flat color, but they bleed through thin paper, so pair them with heavier sheets. Some artists combine graphite with fineliners and then add brush pens or a marker for spot color.
A minimal starter set: fineliners in two or three sizes plus an inexpensive set of tip pens, not a large marker collection. If you want finished work to last, archival pigment-based ink resists fading better than dye-based ink.
Charcoal, Chalk, and Other Expressive Drawing Media
Charcoal, chalk and soft pastels are drawing media suited for bold, expressive and large work, often on bigger or tinted sheets. Charcoal is known for producing rich, dark tones and dramatic contrast. Charcoal provides a broader range of value than graphite, which is why life-drawing classes favor it.
The different types of charcoal:
-
Vine charcoal. Very soft and easy to erase, making it ideal for preliminary sketches.
-
Compressed charcoal. Denser, deeper blacks, harder to lift.
-
Charcoal pencils. Charcoal in a wood casing that gives pencil-like control.
Chalk and soft pastels create intense color and soft edges but generate dust and usually need fixative and ventilation. In my experience charcoal is fun but the medium smudges easily, so it is not a basic tool. These materials are harder to control and cannot be fully erased, so try them after some pencil practice with a small inexpensive set and a few blending stumps on separate sheets, not in your main sketchbook. Watercolor and painting share this “try it after the basics” space for me.
Digital Drawing Tools: Graphics Tablets and Pen-Enabled Tablets
Digital drawing tools have become increasingly popular for creating and editing artwork electronically. A graphics tablet connects to a computer and lets you draw on a surface while watching the screen. A pen-enabled tablet with a built-in screen, such as a modern iPad with a stylus, lets you draw directly on the display. Both simulate traditional tools with pressure and tilt sensitivity. With the right software they can emulate graphite, ink, markers and blending without physical art materials.
Entry-level graphics tablets became affordable in the early 2020s; usable models now start around $40. High-end pen displays remain a substantial investment in 2026. For true beginners, especially on a budget like mine, I recommend starting with physical tools. They teach line confidence and value control without software distractions, and the creation process feels more direct while you are still building hand-eye coordination.
How to Build a Simple, Effective Drawing Kit as a Beginner
Here is my minimal starter kit. It covers proportion, perspective, shading and simple color accents without burying you in choices:
-
3 graphite pencils: HB, 2B, 4B (add a small pencil set if budget allows)
-
1 kneaded eraser
-
1 soft white plastic eraser
-
1 manual pencil sharpener
-
1 mid-weight sketchbook of drawing paper
-
Optionally, a black fineliner and a small 12 or 24 color colored pencil set
Mine came to a small amount from a regular craft and office supply store.
Progression over the first few months: start with graphite and erasers. Then add colored pencils or felt tip pens. Then experiment with charcoal or ink once the basics feel comfortable.
What I’d skip when money is tight: huge all-in-one kits, dozens of pencil grades, expensive paper for practice, and specialty blending gear. This is what worked for me and your tastes may differ.
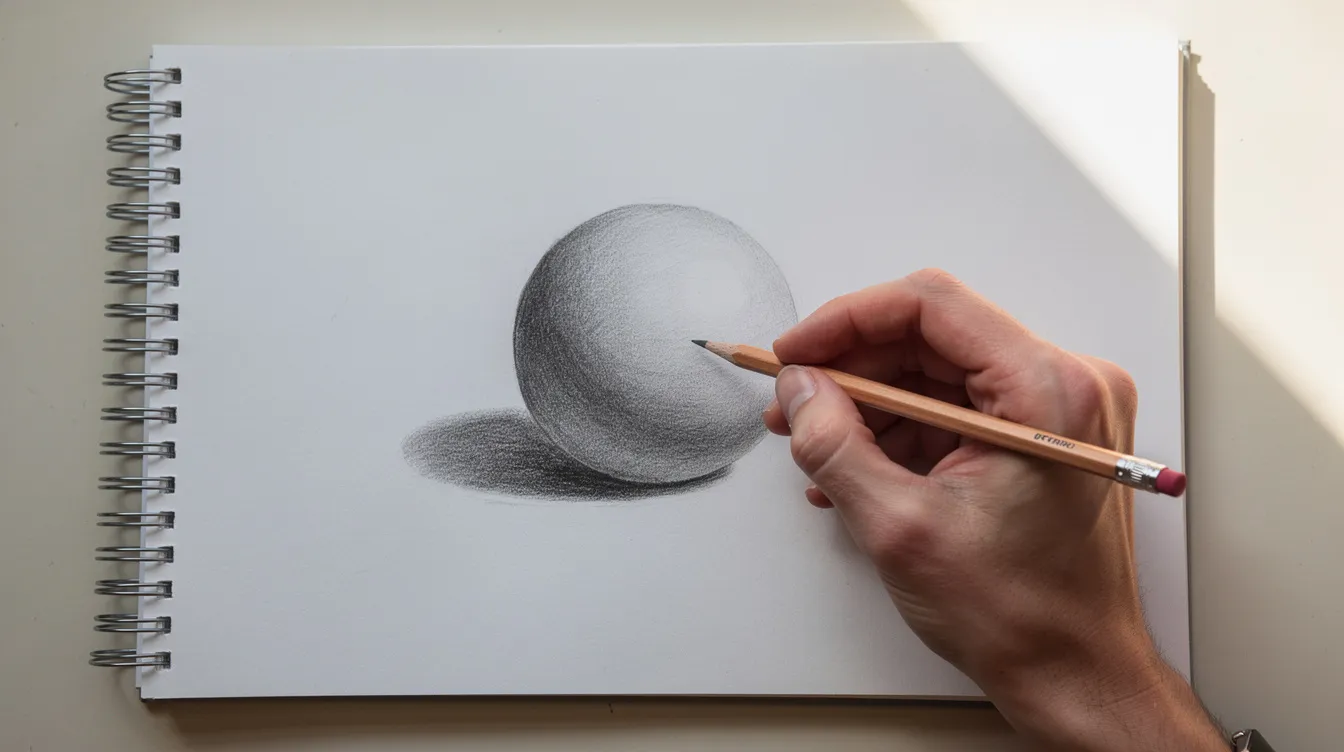
A simple practice routine: draw basic shapes (a cylinder, a sphere, a cube) with the HB. Shade from light to dark with the softer pencil. Lift highlights with the kneaded eraser. Then repeat the exercise on a mug or a piece of fruit. Ten or fifteen minutes a day taught me more than a drawer full of supplies. The first inch of progress comes from drawing, not shopping.
Storing, Organizing, and Caring for Your Art Supplies
Caring for tools saves money. Broken leads, lost erasers and crumpled paper slow practice.
-
Keep pencils horizontal in a pencil pouch or case. Dropped pencils are where I saw cheap leads break most often.
-
Store finished drawings flat in a portfolio or flat drawer.
-
Empty sharpeners regularly; dirty blades drag and pull wood.
-
Cap fineliners after repeated use to keep ink flowing.
-
Avoid heat that softens waxy colored pencil cores (wax bloom, a light haze, can appear if they get warm; you can buff it off with a soft cloth, but prevention is easier).
-
Store kneaded erasers in a plastic bag so they do not dry out.
As your art collection grows, stackable boxes or labeled trays make it easier to find tools quickly. Treat a small kit as a set of reliable tools, not disposables, and build familiarity through repeated use.
Conclusion: Choosing Drawing Tools That Match Your Practice
A handful of well-chosen tools is enough for real progress: drawing pencils, an eraser, a sharpener, paper, and one or two color or ink options. There is no universal “best” tool. It depends on how often you draw, what subjects you enjoy, and whether you like clean lines, soft shading or bold marks.
Start with the practical kit, draw regularly for a few months, then upgrade slowly based on experience, not impulse buys. If something is not worth your money, I will say so. Explore more supply guides and tutorials on Art Basics Guide to keep building your skills and your understanding of art materials over time.
FAQ
What is the one tool I cannot skip? A pencil and some paper. Everything else makes sketching easier or neater, but those two are where creation starts.
Which pencil grades should a beginner buy first? An HB plus a softer one like a 4B or 6B. That gives you light pencil lines and dark shading without a full set.
Do I need expensive paper to learn to draw? No. Printer paper works for practice and a basic sketchbook is a good step up. Spend more only on pieces you will keep.
Are charcoal and pens part of the basic tools? Not really. They are fun additions, but graphite pencils, paper and an eraser cover the basics for the first few months.
How much should I spend to get started? Keep it small: a few pencils, a pad, two erasers and a sharpener from a regular craft or office store. Add to the kit once you know what you enjoy.